
There is no doubt that the days leading up to a large vendor or farmers market is indeed stressful.
Did you print all your labels?
Do you have the car cleaned out?
Did you bake all your customer favs?
The list of questions are endless, but a failure to plan is planning to fail. This rings so true when leading up to a farmers market. I am going to outline exactly how my days leading up to the big day are laid out. Of course this will vary for you based on your offerings.
A failure to plan is planning to fail
But the key is to have a structure in place that allows you to prepare without feeling overwhelmed. Here’s a breakdown of how I stay organized and focused in the days leading up to the market:
5 Days Before the Market: Planning & Prep schedule
This is when I begin my planning process in earnest. I sit down and review my inventory to make sure I have all the necessary ingredients and packaging materials. I also double-check my stock of business cards, price tags, and anything else I’ll need for the booth.
- Check inventory: Ensure all ingredients and packaging supplies are ready.
- Review product list: Make sure all the top sellers are on the list.
- Create a prep schedule: Plan out exactly what needs to be baked and packaged each day.
3 Days Before the Market: Prepare garnishes
If your baked goods require icings, glazes, or drizzles, this is the time to prepare them. Make all icings in large batches, ensuring they are perfectly mixed for flavor and consistency. Once prepared, store them in airtight containers and refrigerate until needed. More in debt Storage Tips can be found HERE.
Icings and Glazes
If your baked goods require icings, glazes, or drizzles, this is the time to prepare them. I make all my icings in large batches, ensuring they are perfectly mixed for flavor and consistency. Once prepared, I store them in airtight containers and refrigerate until needed.
- Buttercream or cream cheese frosting: Pre-whip and store in a sealed container.
- Glazes: Prepare thinner glazes like lemon or vanilla glaze in advance, ensuring they don’t harden by storing them properly in the fridge. They can easily be warmed up or whisked before use.
- Colored icing: If you’re adding decorative colors to your icing, this is the time to divide the batches and color them with precision. That way, they’re ready to go when you need them.
Toppings and Fillings
Beyond the icing, toppings like crumbled cookies, nuts, chocolate shavings, or fresh fruit garnishes need to be prepped. Doing this a few days in advance allows you to focus on the main baking later.
- Cookie crumbles: If you’re adding crushed cookies or graham crackers as a topping, bake or buy them now and crush them to the desired size. Store them in airtight containers to keep them fresh.
- Chopped nuts or chocolate: Chop nuts, chocolate, or other toppings that require precision ahead of time. Keep them stored and ready to sprinkle on at the last moment.
- Fresh fruit prep: For garnishes that use fruit, such as berries or citrus zest, you can pre-wash or pre-zest them, though fresh-cut fruit should ideally be prepared the day before or the morning of the market.
- I won’t bore you with all the items you could use to store these decorative elements, but my favorite are these Reusable Quart Containers.
Decorative Elements
If you’re planning on adding any creative touches like fondant shapes, edible flowers, or dustings of powdered sugar, this is also a good time to think about how these elements will come together.
- Fondant shapes or cutouts: If using fondant decorations, shape or cut them out now. Let them dry if necessary so they can be easily applied later.
- Edible glitter or powdered sugar: Make sure these items are ready to go and stored in easy-to-use containers.
2 Days Before the Market: Baking Begins
This is the time to start baking non-perishable items or those that can be stored without losing freshness. I’ll typically begin with anything that can be frozen or stored in airtight containers, such as cookies or breads.
- Batch baking: Start baking products that will maintain freshness.
- Organize packaging materials: Have all your boxes, labels, and bags prepped for packaging.
1 Day Before the Market: Final Baking & Setup
The day before the market is all about getting everything freshly baked, packaged, and ready to load into the car. This is also when I finalize the details for my booth setup.
- Bake fresh products: Anything that needs to be made the day before, like cinnamon rolls or pastries.
- Pack and label: Ensure all products are packaged neatly and labeled correctly.
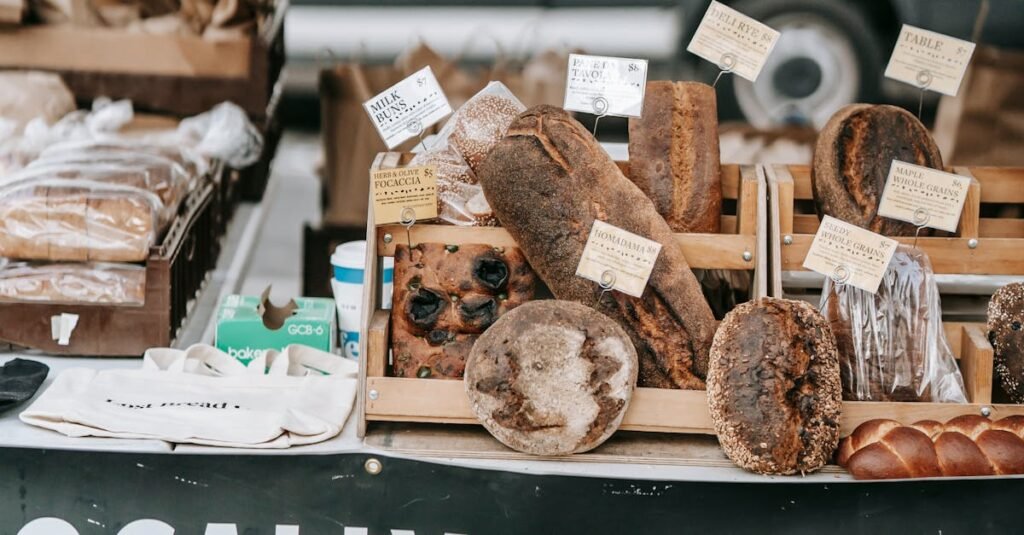
- Prepare display items: Get your tablecloths, signs, and display materials ready to go.
- Plan the booth layout: Know where each product will be placed on your table.
Morning of the Market: Set Up and Go!
On the morning of the market, it’s all about getting there early, setting up, and giving yourself time to relax before the rush of customers.
- Arrive early: Give yourself plenty of time to set up.
- Final touch-ups: Make sure your booth looks inviting and organized.
- Breathe: Take a moment to relax before the crowd arrives!
By following a plan like this, you will be able to approach market day with less stress and more excitement, knowing that everything is organized and ready to go. Of course, things don’t always go perfectly, but having a system in place makes a world of difference.
Remember, the key is preparation, organization, and a little flexibility to adapt if something unexpected comes up. With these steps, you can feel confident and ready to make the most of your farmers market experience!
